How to Set Up Logo Watermark Printing on EVEBOT Coffee Printer
How to Set Up Logo Watermark Printing on EVEBOT Coffee Printer
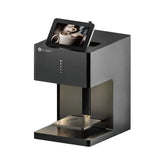
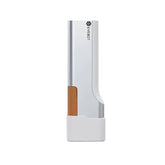
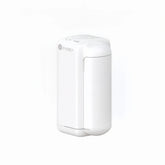
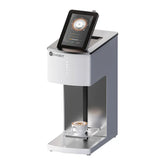
This tutorial applies to all EVEBOT Coffee Printer models: EB-PRO, EB-FC1, EB-FM1 (Mini), and EB-FT4 (Classic).

Example of coffee print with logo watermark
Step 1: Power On and Connect
Turn on your Coffee Printer and ensure it's connected to WiFi.
Step 2: Access Settings
Locate and tap the gear icon in the top-right corner.

Coffee Printer settings screen
Step 3: Display Settings
Select "Display Settings" from the menu.

Display settings menu
Step 4: Watermark Settings
Tap on "Watermark Settings" to proceed.

Watermark settings option
Step 5: Scan QR Code
Use your smartphone to scan the QR code that appears on the screen.

QR code for watermark setup
Step 6: Upload Your Logo
After scanning, you'll be directed to a setup page. Tap "Upload" and select your logo file.

Logo upload interface
Setup Complete!
Your logo watermark will now appear on every print. No further action is needed - the printer will automatically include your logo with each coffee design.


